
What Happens During a Professional Garage Door Tune-Up? (Full Service Walkthrough)
You've seen the ads — "Annual garage door tune-up, $149" or "Complete door servicing, schedule today." Maybe you've been meaning to book one. Maybe you already have one scheduled. Either way, there's a question sitting in the back of your mind that most companies don't bother to answer: what exactly does a technician do during a tune-up, and why is it worth the money?
It's a fair question. You're paying someone $100 to $175 to spend 45 minutes to an hour with your garage door, and if you don't understand what they're doing — and more importantly, what problems they're catching — the service feels like an abstract maintenance checkbox rather than a tangible investment in your home.
This is the full walkthrough. Every step, every inspection point, every test, and why each one matters. By the end, you'll understand exactly what a professional tune-up includes, what it prevents, and how it extends the life of components that cost far more to replace than to maintain.
Step 1 — Visual Inspection of All Hardware
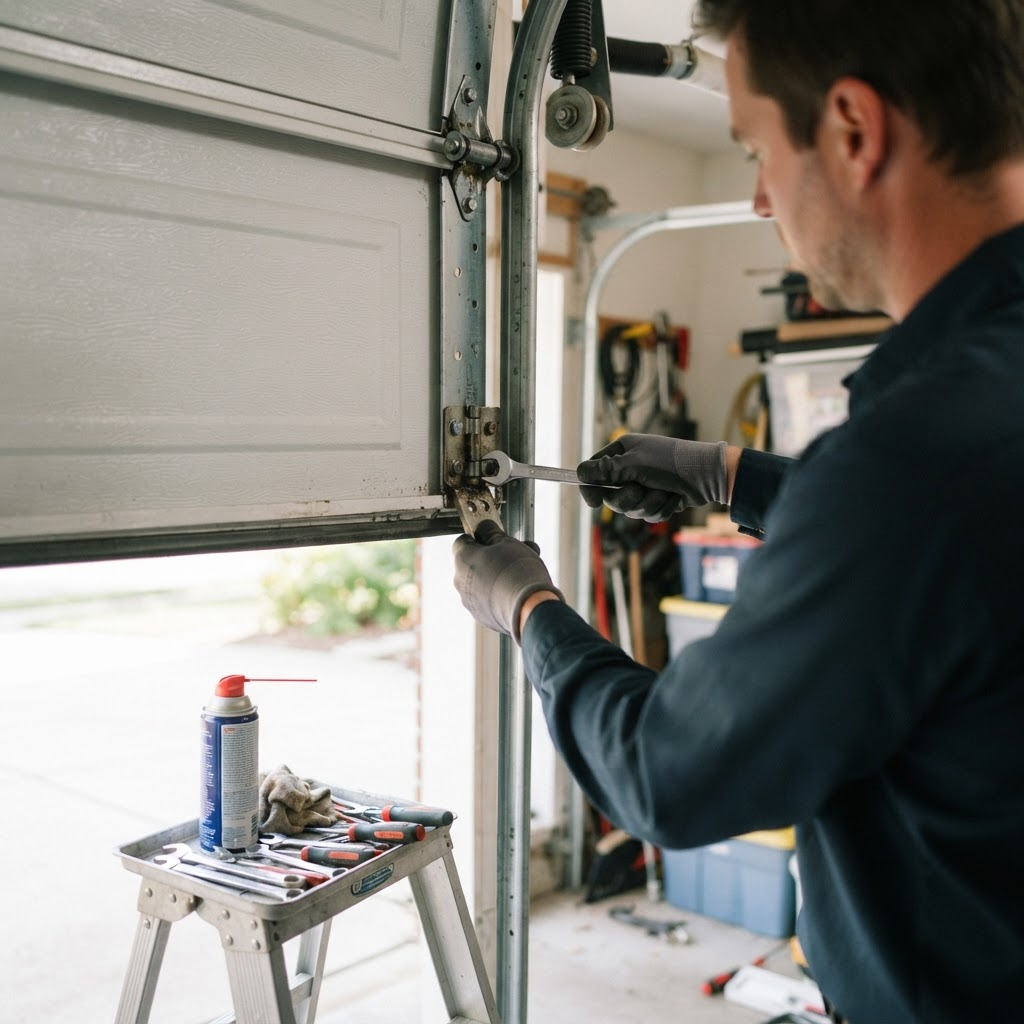
The technician begins with a thorough visual survey of every component in the garage door system — not just the door itself, but the tracks, springs, cables, rollers, hinges, brackets, weather seals, and the opener assembly.
This isn't a glance. It's a systematic examination looking for specific warning signs: rust or corrosion on springs and hardware, frayed or kinked cables, cracked or chipped rollers, loose or missing hinge bolts, worn or torn weather seals, bent track sections, and signs of wear on the opener's drive mechanism. Each finding is noted and evaluated — some warrant immediate attention, others are documented as items to monitor on future visits.
The visual inspection is the diagnostic foundation of the entire service. A trained eye catches problems that are invisible to most homeowners — a cable that's starting to fray but hasn't failed yet, a spring that's developing surface rust that will eventually weaken it, a hinge whose bolt has backed out half a turn and is creating progressive loosening. These early-stage issues are exactly the kind of things that, left unaddressed, become the emergency calls covered in our guide on warning signs your garage door needs repair. Homeowners across Campbell rely on these inspections to catch trouble before it strands their car in the garage.
Step 2 — Hardware Tightening
Every component on a garage door is connected with fasteners — bolts, screws, lag bolts, and nuts — and every one of these fasteners is subjected to vibration during every opening and closing cycle. Over thousands of cycles, vibration gradually loosens fasteners. A hinge bolt backs out a quarter turn. A track bracket screw loses its grip. A roller shaft retaining clip shifts. Individually, each loosened fastener seems minor. Collectively, they create play, wobble, and misalignment that compound into bigger problems over time.
The technician works through every accessible fastener on the system — hinge bolts on every panel joint, track bracket mounting screws, roller shaft retaining hardware, the opener mounting bracket, and the safety sensor brackets. Each is checked for tightness and snugged as needed. This is not glamorous work, but it's one of the most valuable steps in the entire service because it re-establishes the precise alignment and structural rigidity that every component depends on.
Step 3 — The Balance Test
This is one of the most important diagnostic tests in the entire tune-up, and it reveals the health of your springs more accurately than any visual inspection can.
The technician disconnects the opener by pulling the emergency release cord, then manually lifts the door to the halfway-open position — roughly waist to chest height — and releases it. A properly balanced door stays right where it's released, neither rising nor falling. It should feel light and easy to lift — roughly 10 to 15 pounds of effective resistance.
If the door drifts upward after release, the springs are providing too much force — they're over-tensioned or were specified for a heavier door. If the door drifts downward or falls, the springs aren't providing enough force — they've lost tension from age and fatigue, or they were under-sized for the door's weight. If the door feels heavy to lift — requiring significant effort to raise to the halfway point — the springs are noticeably weakened.
A failed balance test means the opener is working harder than it should on every cycle. The excess load accelerates wear on the motor, the gears, the drive mechanism, and the door hardware. Correcting a spring imbalance now prevents the cascading component failures that result from months or years of an overloaded system. This single test, and the spring adjustment it sometimes triggers, is often the most valuable part of the entire tune-up. It's a service homeowners in Saratoga book every year to keep their springs living out their full lifespan.
Step 4 — Lubrication of All Moving Parts
Friction is the enemy of every moving component in a garage door system. Metal rubbing against metal without lubrication generates heat, accelerates wear, produces noise, and creates resistance that the opener must overcome on every cycle. Proper lubrication reduces all four of these effects simultaneously.
The technician applies garage-door-specific lubricant — typically a silicone-based or white lithium spray — to every moving contact point in the system. This includes the torsion spring coils (reduces friction between adjacent coils during wind and unwind), the roller bearings and shafts (the highest-friction contact point on most doors), the hinge pivot points (each hinge flexes during every panel articulation), the track surfaces where the rollers ride, the opener drive mechanism — chain, belt, or screw — and the bearing plates at the ends of the torsion bar.
The lubrication process takes only a few minutes, but its impact on noise reduction is immediately noticeable. A door that was grinding, squeaking, or rattling before lubrication often operates noticeably more quietly afterward. Our guide on diagnosing garage door noise identifies lubrication as one of the most effective noise solutions — and regular professional lubrication prevents the noise from developing in the first place. It's a favorite request in quieter neighborhoods like Almaden Valley, where a rattling door carries.
Step 5 — Roller Inspection and Assessment
Rollers are among the highest-wear components on a garage door. Standard steel rollers have a lifespan of roughly 10,000 cycles (five to seven years of average residential use), and nylon rollers last roughly 15,000 to 20,000 cycles.
The technician inspects each roller for wear indicators: flat spots on the roller surface, wobble on the shaft, cracked or chipped nylon, visible bearing wear, and rollers that don't spin freely when rotated by hand. Worn rollers create noise, increase friction, and can eventually seize in the track — causing the door to bind, jerk, or derail.
If rollers are approaching end of life, the technician will recommend replacement. This is a common and affordable maintenance item — a full set of rollers for a standard two-car door typically costs $75 to $150 for nylon rollers, installed.
Step 6 — Safety Sensor Testing
Federal law requires that all garage door openers manufactured after 1993 include photoelectric safety sensors that reverse the door if anything breaks the sensor beam during closing. These sensors are a critical safety feature, and the tune-up includes verification that they're working correctly.
The technician tests the sensors by initiating a close cycle and then deliberately blocking the beam with an object. The door should stop and reverse immediately. If the door continues to close, or if there's a significant delay before reversal, the sensors need alignment, cleaning, or wiring repair.
The technician also verifies the sensors are securely mounted, properly aligned (both indicator LEDs showing steady green or amber as appropriate for the brand), and that the wiring is intact and undamaged.
Step 7 — Force and Travel Limit Testing
The opener's force settings control how much resistance the motor tolerates before reversing direction — a safety feature that prevents the door from crushing objects or people in its path. The travel limits control exactly where the door stops at the fully open and fully closed positions.
The technician verifies both settings by placing a 2x4 board flat on the floor in the door's path and initiating a close cycle. When the door contacts the board, it should reverse within two seconds. If it doesn't reverse, or if it pushes the board hard before reversing, the close force is set too high. If it reverses before reaching the floor during normal operation, the close force may be set too low or the limits need adjustment.
Travel limits are checked by observing whether the door stops at the correct fully-open and fully-closed positions. If the door stops short of the floor, leaves a gap, or pushes past the fully-open position — all common issues that develop gradually — the limits are recalibrated. Technicians serving Mountain View and Palo Alto recalibrate these settings on a large share of the doors they service.
The Door and Access Systems Manufacturers Association (DASMA) publishes safety guidelines and maintenance standards that inform the testing protocols professional technicians follow during these procedures.
Step 8 — Final Assessment and Recommendations
After completing all inspections, tests, and maintenance steps, the technician provides a summary of what they found, what they serviced, and any recommendations for future attention. This summary typically includes the balance test result and spring condition assessment, any components that are approaching end of life (rollers, springs, seals), any safety concerns identified during testing, and a recommended timeline for the next tune-up (typically 12 months for residential doors with average use).
Why It's Worth the Investment
A professional tune-up costs $100 to $175. A spring replacement costs $300 to $500. An opener gear replacement costs $150 to $250. A full opener replacement costs $550 to $950. A new garage door costs $1,500 to $3,500. The tune-up exists to extend the life of every one of these components by catching problems early, reducing friction and wear, and maintaining the precise balance and alignment that the entire system depends on.
For homeowners across Campbell, Saratoga, Mountain View, Palo Alto, Almaden Valley, and throughout Silicon Valley, annual tune-ups are the most cost-effective maintenance investment you can make for your garage door system.
Our quarterly maintenance checklist shows you what you can do between professional visits to keep things running smoothly. For the deeper work — balance testing, force calibration, spring assessment — call for professional garage door repair and schedule your annual tune-up. The $149 you spend today prevents the $500 to $1,000 repair you'd need next year.
Book your annual tune-up — $149 includes full inspection + lubrication
Give your door the 8-step service it needs to run quietly, safely, and reliably for years. Our tune-up includes a full hardware inspection, balance test, lubrication of every moving part, safety sensor and force testing, and a written assessment of what we found.
Schedule your tune-up